With summer fast approaching, more and more people are uncovering their smokers or buying them for the first time. The world of meat smoking can be a bit intimidating from the outside looking in, so we’ve prepared a guide to explain the basics of smoking meat and how to get the most from your new appliance. If you’re brand-new to smoking—or even if you just need a refresher—read on for our essential meat smoking tips for beginners.
There are several types of smokers to choose from. Wood and charcoal smokers are best for focusing on flavorful infusions in meat and other foods. On the other hand, electric and gas smokers are very efficient and convenient, making them popular choices as well. Here is how each type of smoker breaks down so that you can choose the right one for you:
Not only are there different types of smokers, but there are also many different types of wood chips for smoking. Some of the most popular varieties include oak, hickory, applewood, mesquite, cherrywood, alderwood, and more. You’ll want to avoid using wood chip varieties with high concentrations of sap, such as pine, spruce, cedar, or cypress, which could affect the meat’s taste or even make you sick.
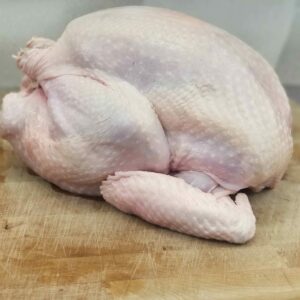
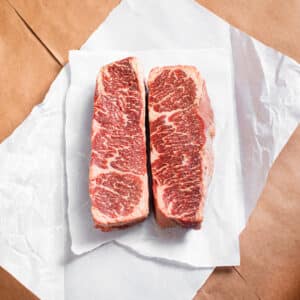
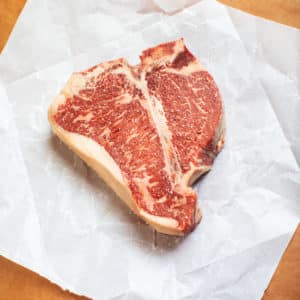
You can smoke a wide variety of meats to discover new flavors and textures, but don’t be overwhelmed by your choices at first. We’ll start by going over which cuts of meat make for great beginner smoking projects:
Once you’ve had some practice with these no-hassle recipes, give some ribs and brisket recipes a try. After all, they’re a staple of meat smoking!
Depending on the meat you’ve chosen, you can prepare it for smoking in different ways. Chicken and other types of poultry are best when you marinate or brine them before smoking. This process helps the meat stay juicy and flavorful instead of drying out in the smoker. On the other hand, meats like beef and pork will suffice with just a dry rub before going into the smoker. The seasoning process depends on what flavors you are going for and what recipe you are using.
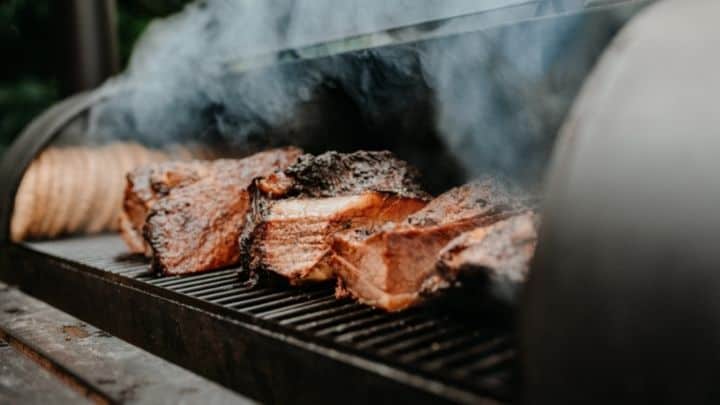
Finally, all that’s left is to smoke the meat you’ve prepared. This process will also vary, depending on the cut of meat, type of smoker, and recipe. Just make sure to check on your smoker throughout, especially if you have the wood and charcoal varieties. Otherwise, you can sit back, relax, and let the smoker do the rest of the work until your food is ready.
The processes of smoking and grilling meat are very similar with regards to how you know when the meat is finished cooking. The best way to tell when meat is done on a smoker is by temperature. Use a meat thermometer to test the internal temperature, and compare it with your recipe or cookbook for exact temperature windows. A baseline internal temperature guide dictates at least 165 °F for poultry, 160 °F for pork and ground meats, and 145 °F for steaks and roasts. When you cut into the meat, you may notice a pink ring around the outside of the cut, just underneath the crust layer. This is a smoke ring that results from just the right smoking conditions.
Now you have everything you need to get you started with smoking meat. If you’re new to the process, we hope this list of essential meat smoking tips for beginners has helped inspire you for your first meat smoking session. Enjoy some of the best summer flavors with your new smoker and a few new recipes to go with it!